Implementation Verification Tool
The Implementation Verification Tool ensures the quality assurance of all VISION products. It guarantees that every device undergoes a complete test run once its software is finalized. This test run evaluates the key functions and aspects of the product to maintain the highest quality standards.
However, this verification tool does not test all aspects of the product, and the manufacturer remains responsible for the overall quality of their product. This mode serves as an assistance tool but does not provide any guarantees.
Here is a link to a tutorial video that provides a detailed walkthrough of the Implementation Verification Tool. The video is a helpful resource but not mandatory to watch, as the documentation below is sufficient. However, the tutorial offers a more detailed step-by-step guide:
Fixture Implementation Verification Video
Test Areas:
- VISION RDM (Remote Device Management)
- VISION DMX (Digital Multiplex)
- VISION FEATURES (Product Features)
- VISION DFU (Device Firmware Update)
A fixture must pass the entire test run from start to finish. If any single test point fails, an error message will be displayed, and the test run will end automatically. The responsible developer must revise the software and can then restart the test with a new version. If all tests pass successfully, the fixture is verified.
Step-by-Step Guide
- Ensure the fixture under test meets the following prerequisites:
- Bootloader for fixture firmware flashed
- Fixture Firmware installed
- Bootloader for VISION firmware flashed
- Newest VISION firmware installed
- Activate Test Mode:
- Go to „Settings“ by clicking on the gear in the top:

- Click on App Settings:

- Tab on the App Software Version label (0.0.5.0) two times. After that a prompt shows up. Type in the PIN “7248“. Then the Test Mode will be activated.

- Go back to the „Discover“ page.
- Go to „Settings“ by clicking on the gear in the top:
- Scan for devices:

- Connect to the desired fixture by clicking on it:

- Scroll down and click on „Verify Implementation“:


- A popup will appear to guide you through the entire process.

- Once all steps are successfully completed, the device will be verified.
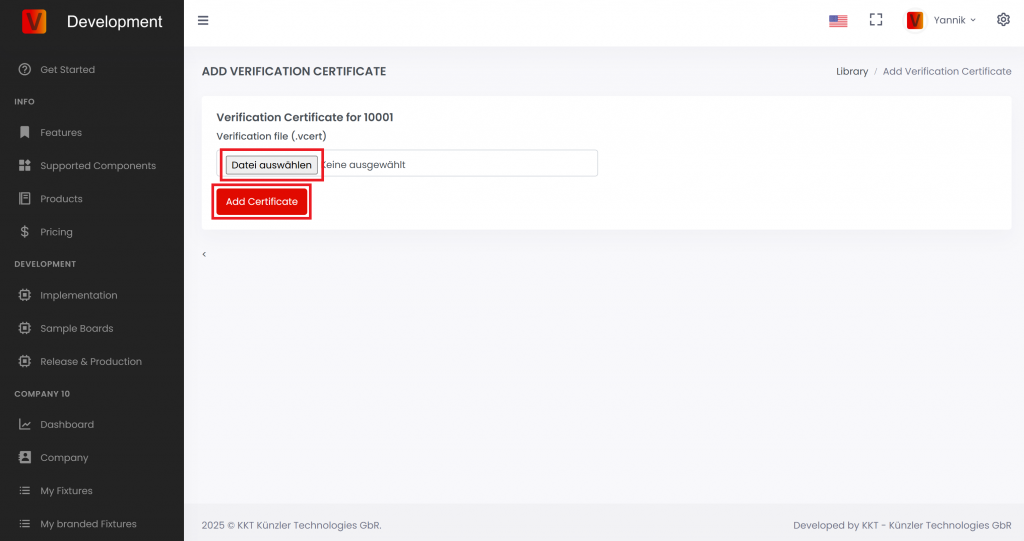
- Download the verification certificate.
- Upload the certificate to the Visio Webservice by following those steps:
- Login to: https://server.kk-t.eu/
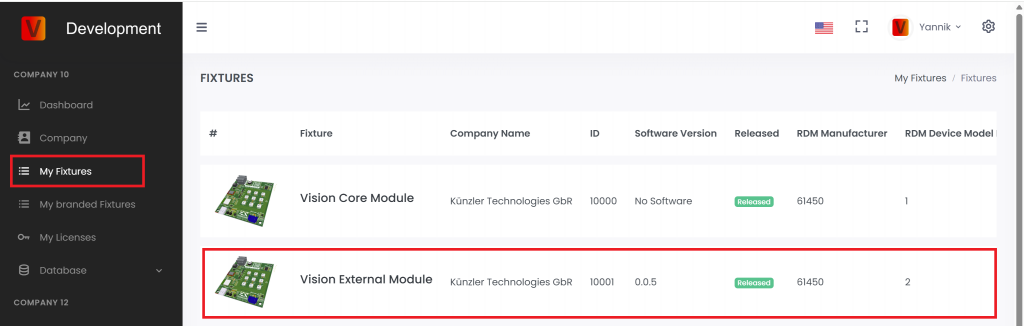
- Navigate to „My Fixtures“ and then click on the fixture you have verified
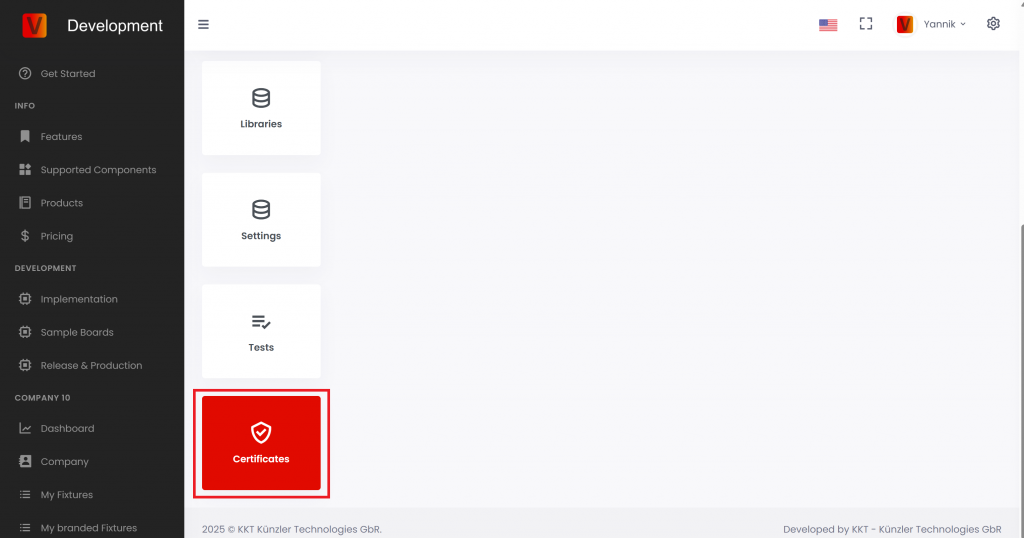
- Scroll down to „Certificates“
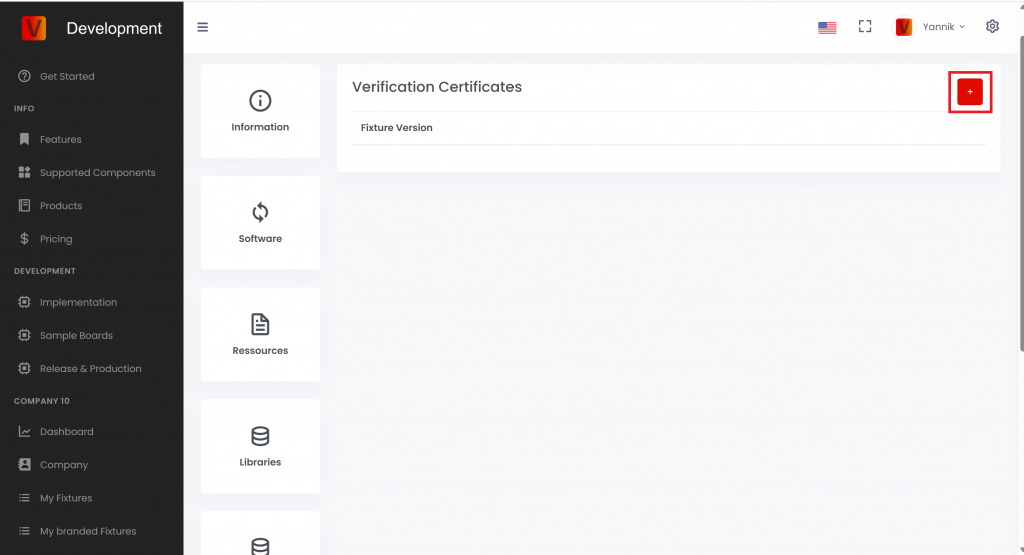
- Scroll up and click on the plus icon in the top right
- Then upload the certificate and click „Add Certificate“.