Custom Production Flash File
Custom production flash file
本章节说明如何为 custom hardware implementation 生成 production-ready flash file。该 file 会集成 application firmware、bootloader 和必要 configurations,从而简化 production deployment。
在 Production 中,通常不希望只 flash bootloader,然后再通过 DFU Upgrade 将 application 写入 fixture。更合理的方式是一次性 flash bootloader 和 application。但不能简单 merge 这两个 files,因为仍需要 application header,其中包含 length 和必要 CRC check。
为了生成包含 bootloader、Application 和 application header 的 merged file,我们在 Windows 版 Vision Control App 中提供了一个 tool。
首先在 Windows 上打开 Vision App。如果还不熟悉该步骤,请先查看:
https://server.kk-t.eu/ExternalVision/TestPreparations
按照以下步骤将 application 切换到 Test Mode。这样可以使用和查看尚未 registered 的 development fixtures:
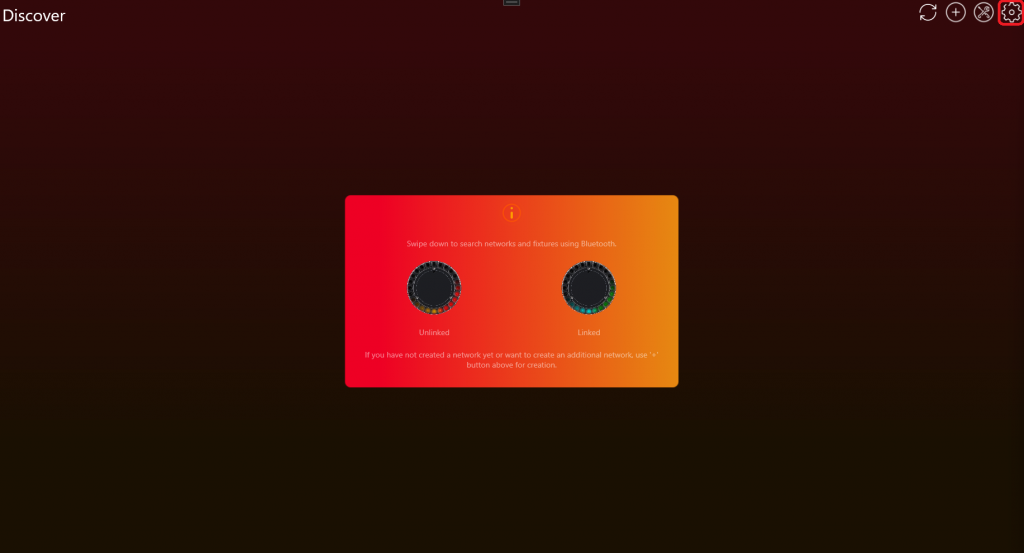
- 点击顶部 gear,进入 Settings:
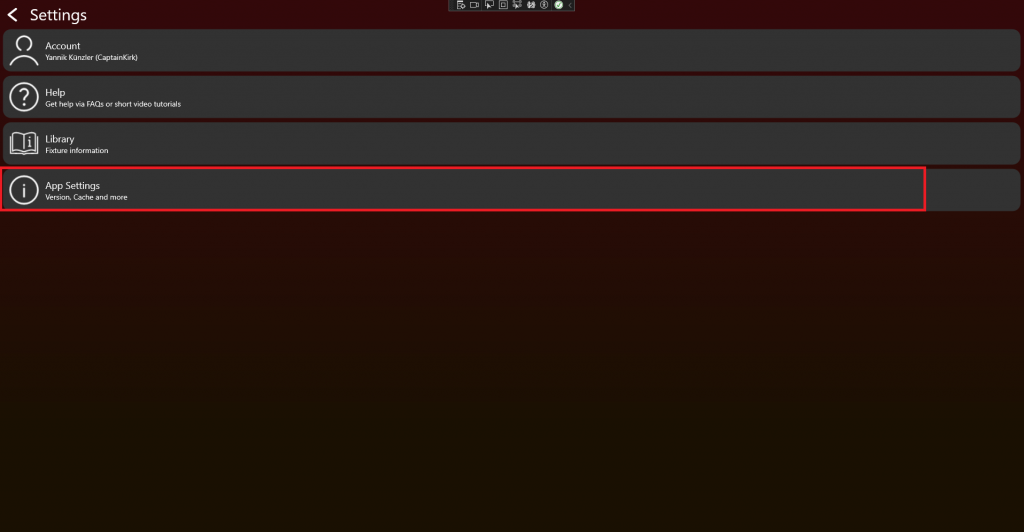
- 点击 App Settings:
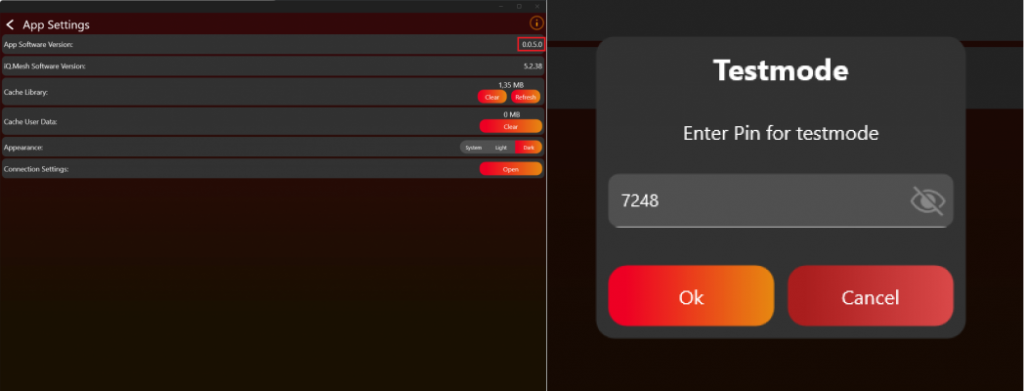
- 点击 App Software Version label(例如 0.0.5.0)两次。随后会出现 prompt。输入 PIN 7248,Test Mode 即会 activated。
现在 App 中会显示必要 functions。再次进入 settings tab。
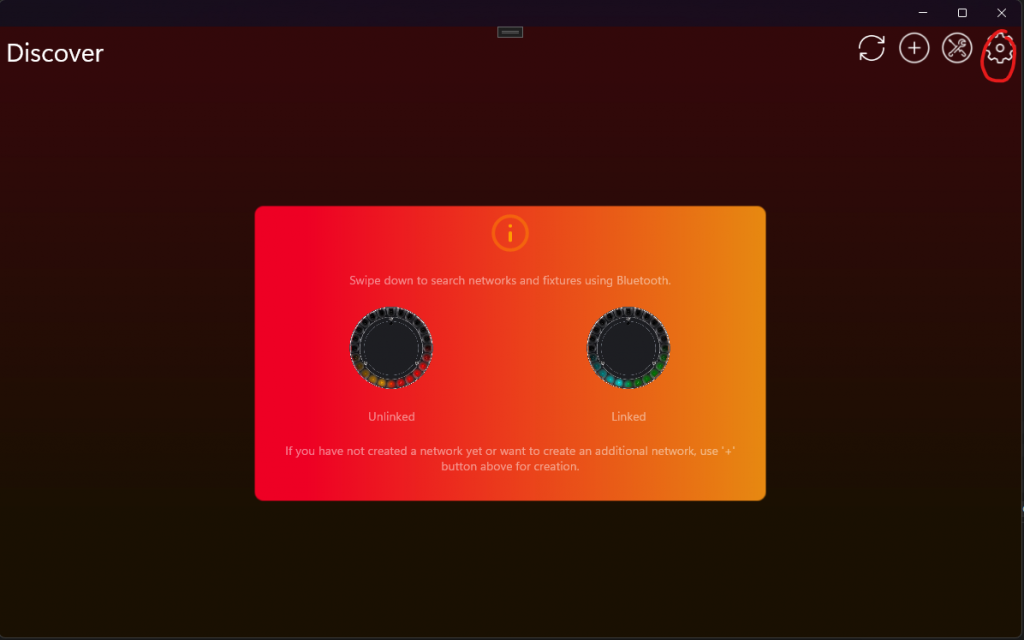
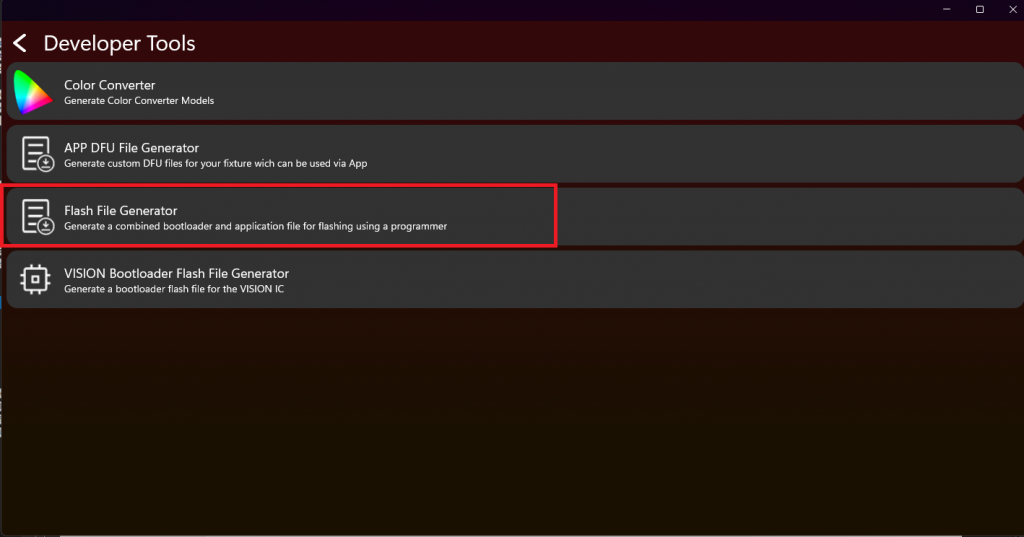
现在应能看到 Developer Tools。

然后点击 Flash File Generator:
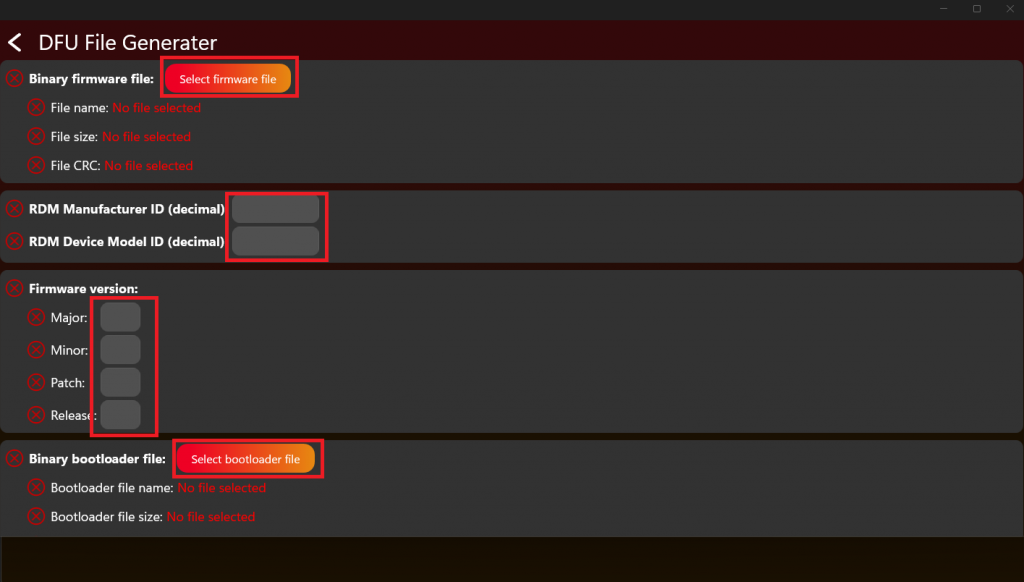
选择 binary application file(.bin)。选择正确的 RDM Manufacturer 和 ID,以便通过 signature check。填写 application firmware version,并选择 binary bootloader file。
然后向下 scroll,并填写每个 file 的 offset。不要使用 absolute address;请使用相对于第一个 file 的 relative address。第一个 file 显然是 bootloader,因此保持为 0。接下来输入 Config address offset。在 custom example 中该 value 为 0x4000,应以 decimal 输入为 16384。Application offset 对 STM32 Example 是 0x4400,对 Artery Example 是 0x4800,分别应以 decimal 输入为 17408 或 18432。最后输入 bootloader firmware version。
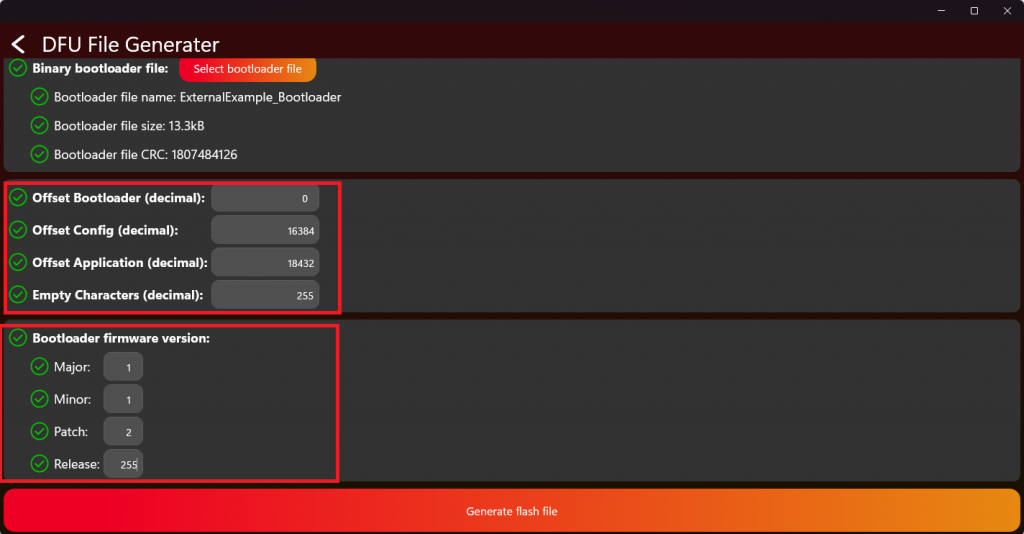
最后使用 generate flash file button 生成 merged file,即完成 production flash file。